Interior Painting 101
A comprehensive guide to achieving professional-quality results in your home painting projects.
Planning Your Interior Paint Project
Interior painting is one of the most transformative and cost-effective ways to update your home. Whether you're refreshing a single room or tackling your entire house, proper planning is the key to achieving professional-quality results.
Before you pick up a brush, take time to assess each room. Consider the function of the space—bathrooms need moisture-resistant paints, while bedrooms benefit from low-VOC options for better air quality. Think about natural light: north-facing rooms can feel cooler and benefit from warmer paint tones, while south-facing rooms get abundant light and can handle bolder colors.
Creating a detailed plan also means measuring accurately. Calculate the square footage of your walls, subtract windows and doors, and add about 10-15% for waste and touch-ups. This ensures you buy enough paint in one batch—crucial for consistent color throughout your project.
Surface Preparation: The Foundation of Quality
Professional painters will tell you that 80% of a great paint job happens before the first coat goes on. Surface preparation is tedious but essential. Start by cleaning walls thoroughly with a damp cloth or TSP solution to remove grease, dust, and cobwebs. Fill any holes or cracks with spackling paste, then sand smooth once dry.
For previously painted walls, check the existing finish. Glossy or semi-gloss paints need to be lightly sanded to create texture for the new paint to grip. New drywall requires a coat of primer to ensure even absorption. Don't skip primer when making dramatic color changes—going from dark to light or light to dark almost always requires it.
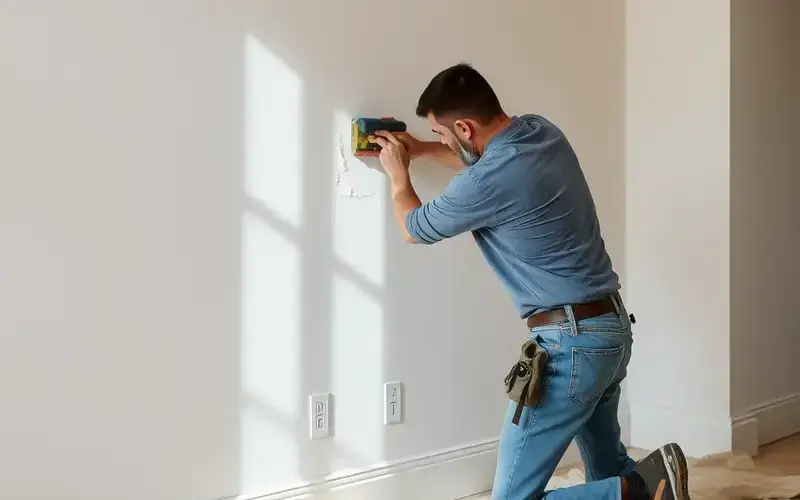
Protect your space by removing furniture or moving it to the center and covering with drop cloths. Remove switch plates and outlet covers, and use painter's tape to protect trim, ceilings, and edges. Taking time at this stage makes the actual painting faster and protects your belongings.
Choosing the Right Paint and Tools
Not all paints are created equal. Quality matters—better paints have better pigments, more durable binders, and longer-lasting finishes. For most interior walls, a premium latex paint in eggshell or satin finish works beautifully. Eggshell has a soft, velvety look and is easy to clean, while satin adds subtle sheen and is more scrubbable—great for kitchens and bathrooms.
Flat paints are beautiful for ceilings and low-traffic areas but can be difficult to clean. If you have kids or pets, consider satin or semi-gloss for high-traffic areas. Always stir paint thoroughly before applying, and if using multiple cans, mix them together in a large container to ensure color consistency.
Invest in quality brushes and rollers. Natural bristle brushes work with oil-based paints, while synthetic brushes (nylon or polyester) are best for latex. A good 3/8-inch nap roller cover works for most walls—use shorter naps for smooth surfaces and longer naps for textured walls. Quality tools hold more paint, apply more smoothly, and clean up better for reuse.
Painting Techniques for Pro Results
Start by "cutting in" edges with a brush—paint along trim, corners, and ceilings before rolling. This technique creates clean lines and prevents lap marks. Use long, even strokes and work in sections, maintaining a wet edge to avoid visible seams.
When rolling, use a W pattern to distribute paint evenly, then fill in the space. Apply paint in thin coats rather than one thick coat—thick coats drip, sag, and take longer to dry. Two or three thin coats provide better coverage and a more durable finish. Let each coat dry completely before applying the next, usually 2-4 hours for latex paint.
Don't paint in direct sunlight or when the room is too humid—both cause problems with drying and finish. Maintain consistent conditions for even results. Once finished, clean brushes and rollers immediately for reuse, and remove painter's tape at a 45-degree angle while the final coat is still slightly tacky for the cleanest lines.
Ready to Paint?
Get a free estimate from our professional painting team.